
Setup Guides
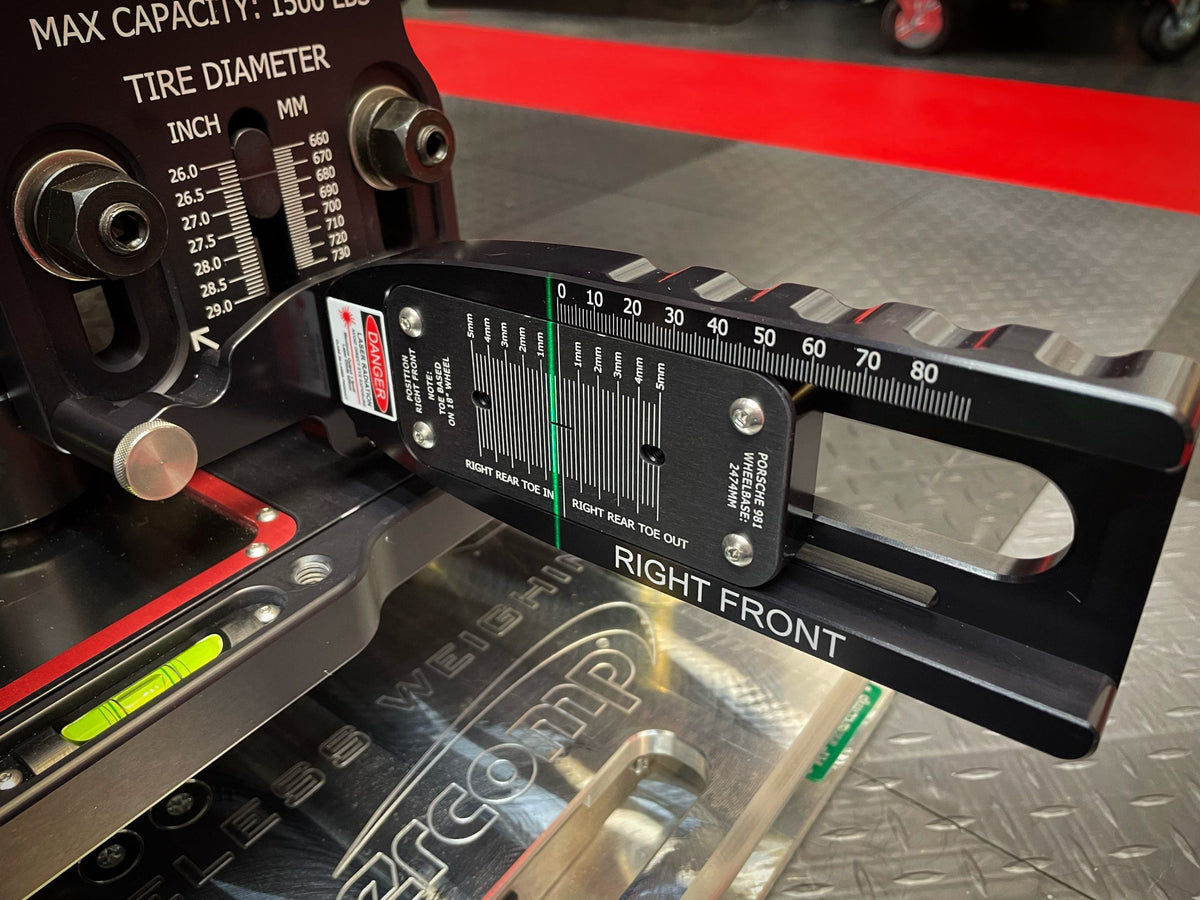
Toe Units: Why They Vary Between Cars
Millimeters, inches, minutes and degrees: what each one actually measures, how to convert between them, and why two setup sheets with the same number can describe different cars.
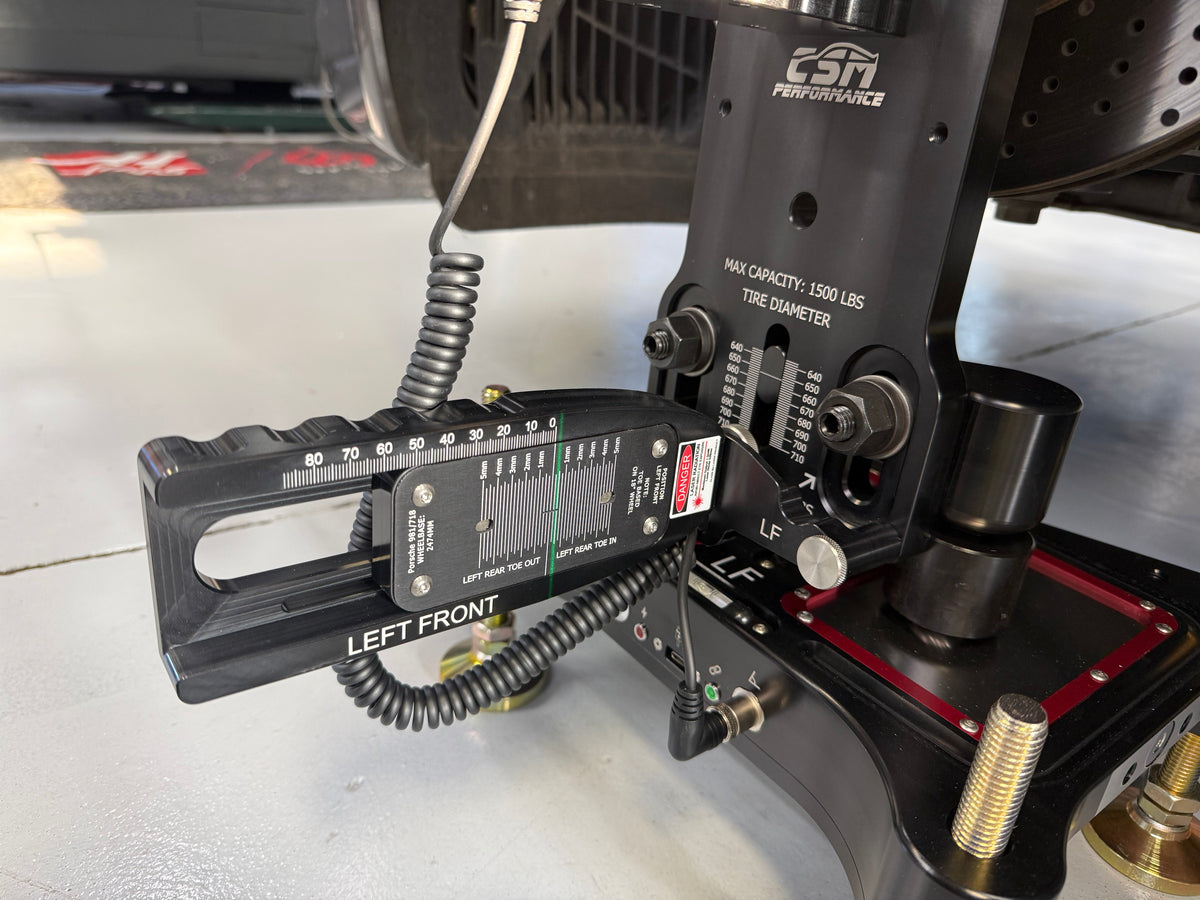
Corner Weights and Cross Weight: Explained
What the four numbers on your scales mean, why weight moves diagonally, and how to set it without chasing your tail.
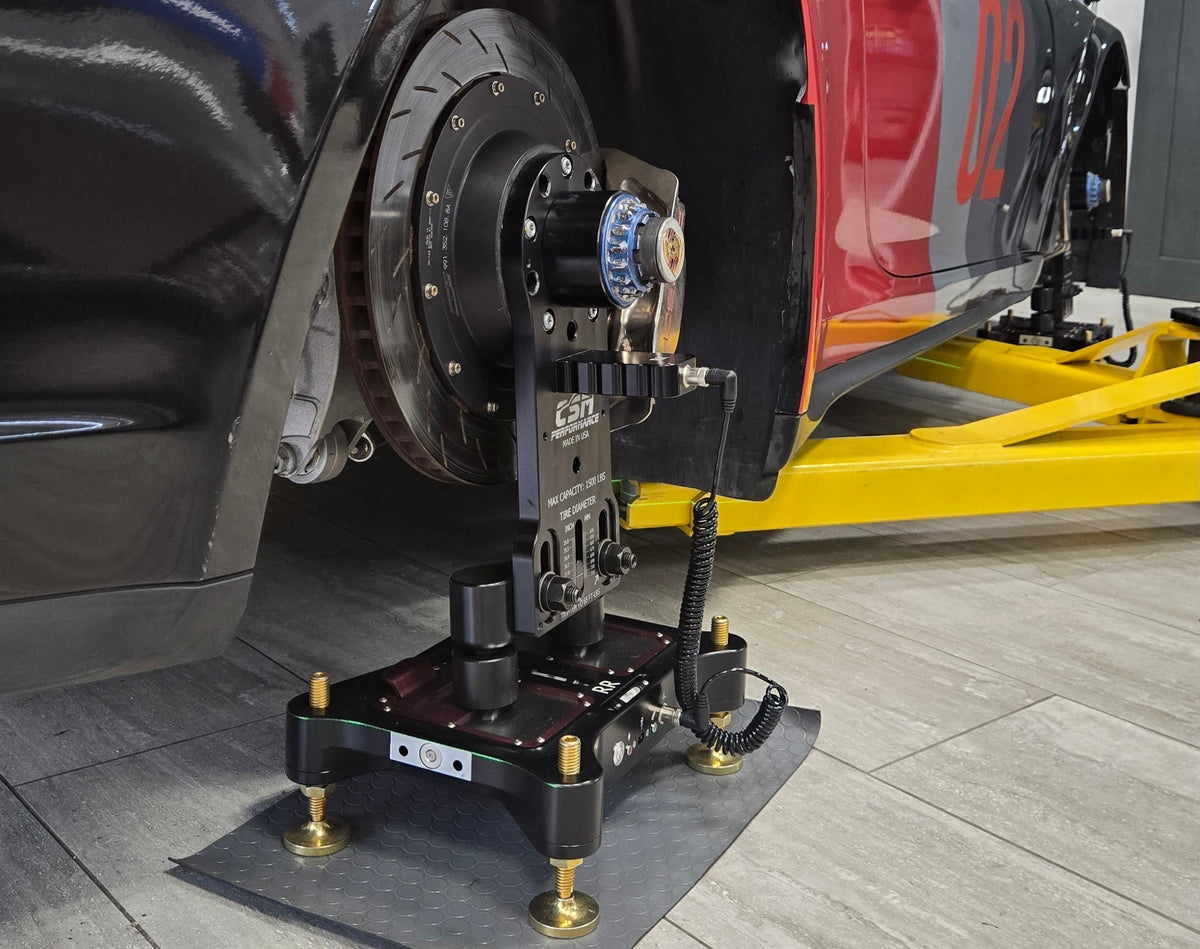
Setup Order of Operations: The Right Sequence for Chassis Setup
Ride height, corner weights, camber, caster, toe. Why the order matters, what each step changes, and how to finish a full setup in about an hour.
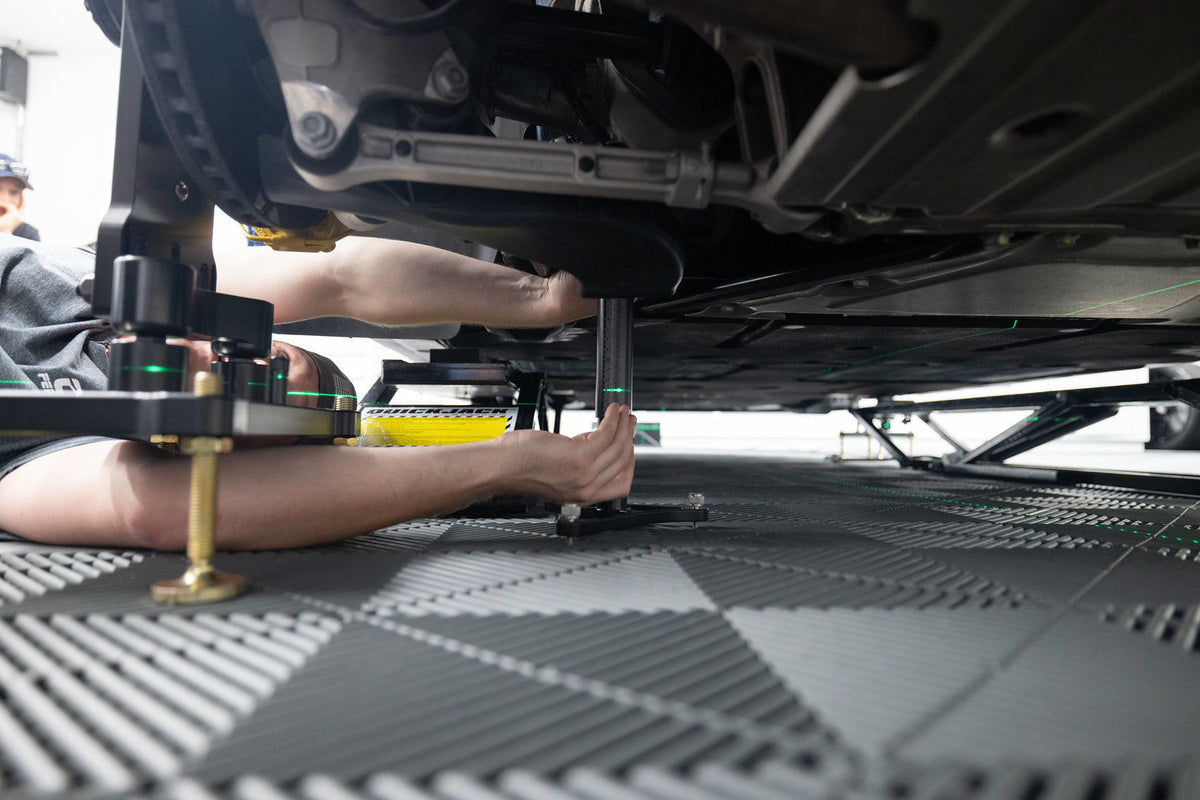
Suspension Setup Fundamentals: A Guide to What Matters and Why
What every alignment and corner-balance adjustment actually does, why it matters, and how to use it. A reference guide for owners, technicians, and shop builders working on performance cars.
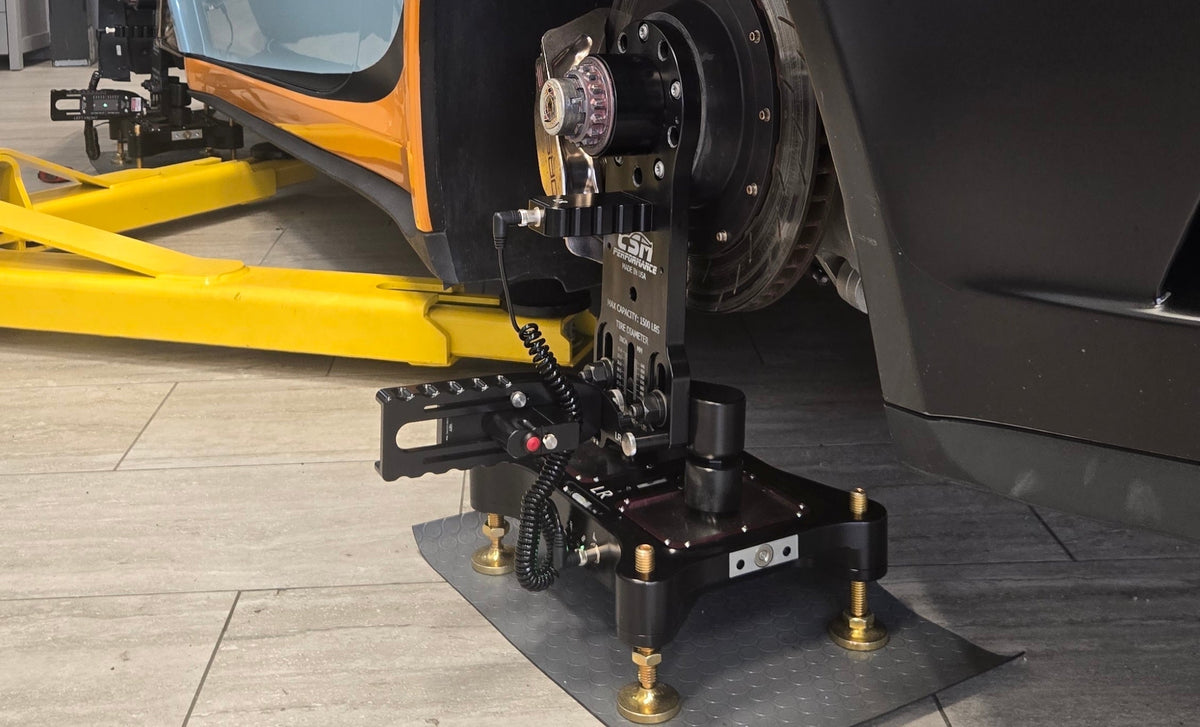
Hub Stands: How To Make Setup Simple
Strings, toe plates, and clamp-on heads all measure from the wheel, and the wheel is the least accurate part of your setup. Why hub-referenced measurement removes runout and mounting error entirely, how ball transfers eliminate suspension bind, and what arc-minute toe resolution actually means at the track.
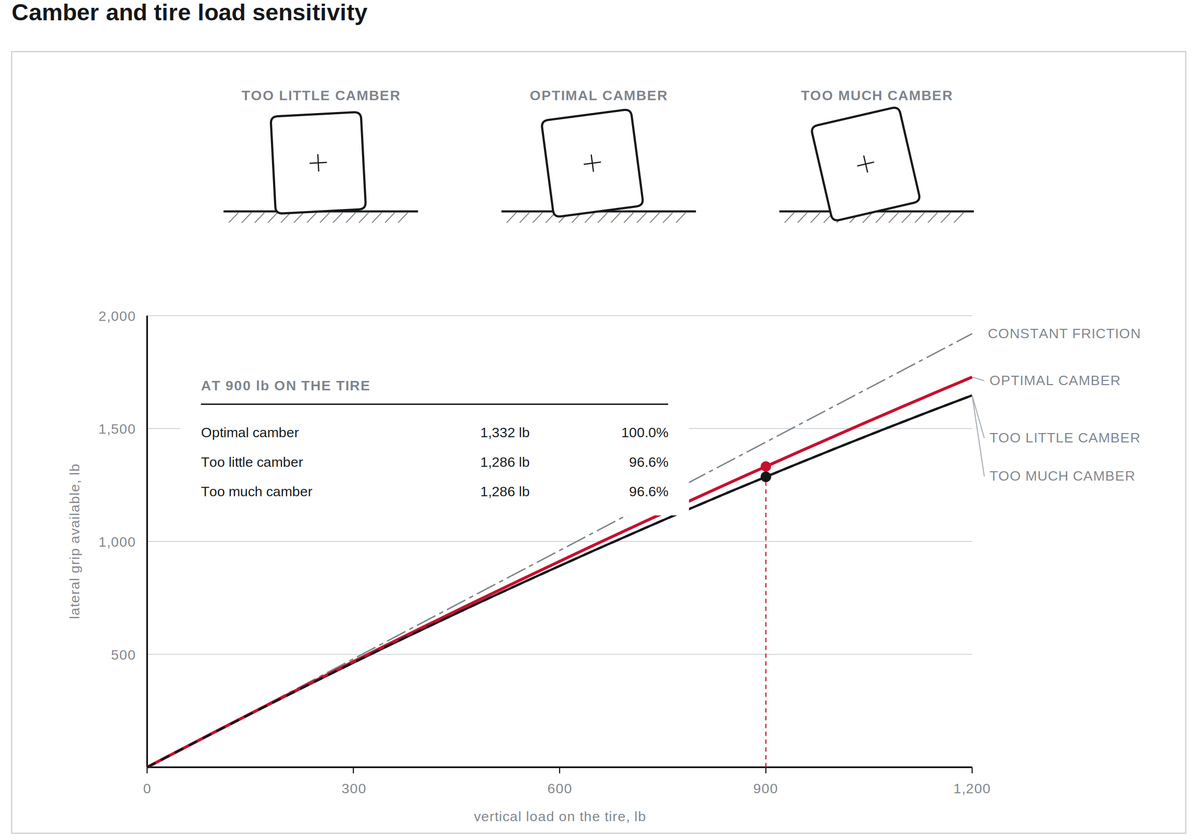
Camber Explained: Why It Matters
Static camber is one term of five. Chassis roll, caster, compliance and suspension geometry all change the camber your tire actually sees, and none of them appear on the alignment printout. How to arrive at the right number for your car, and how to verify it at the contact patch.
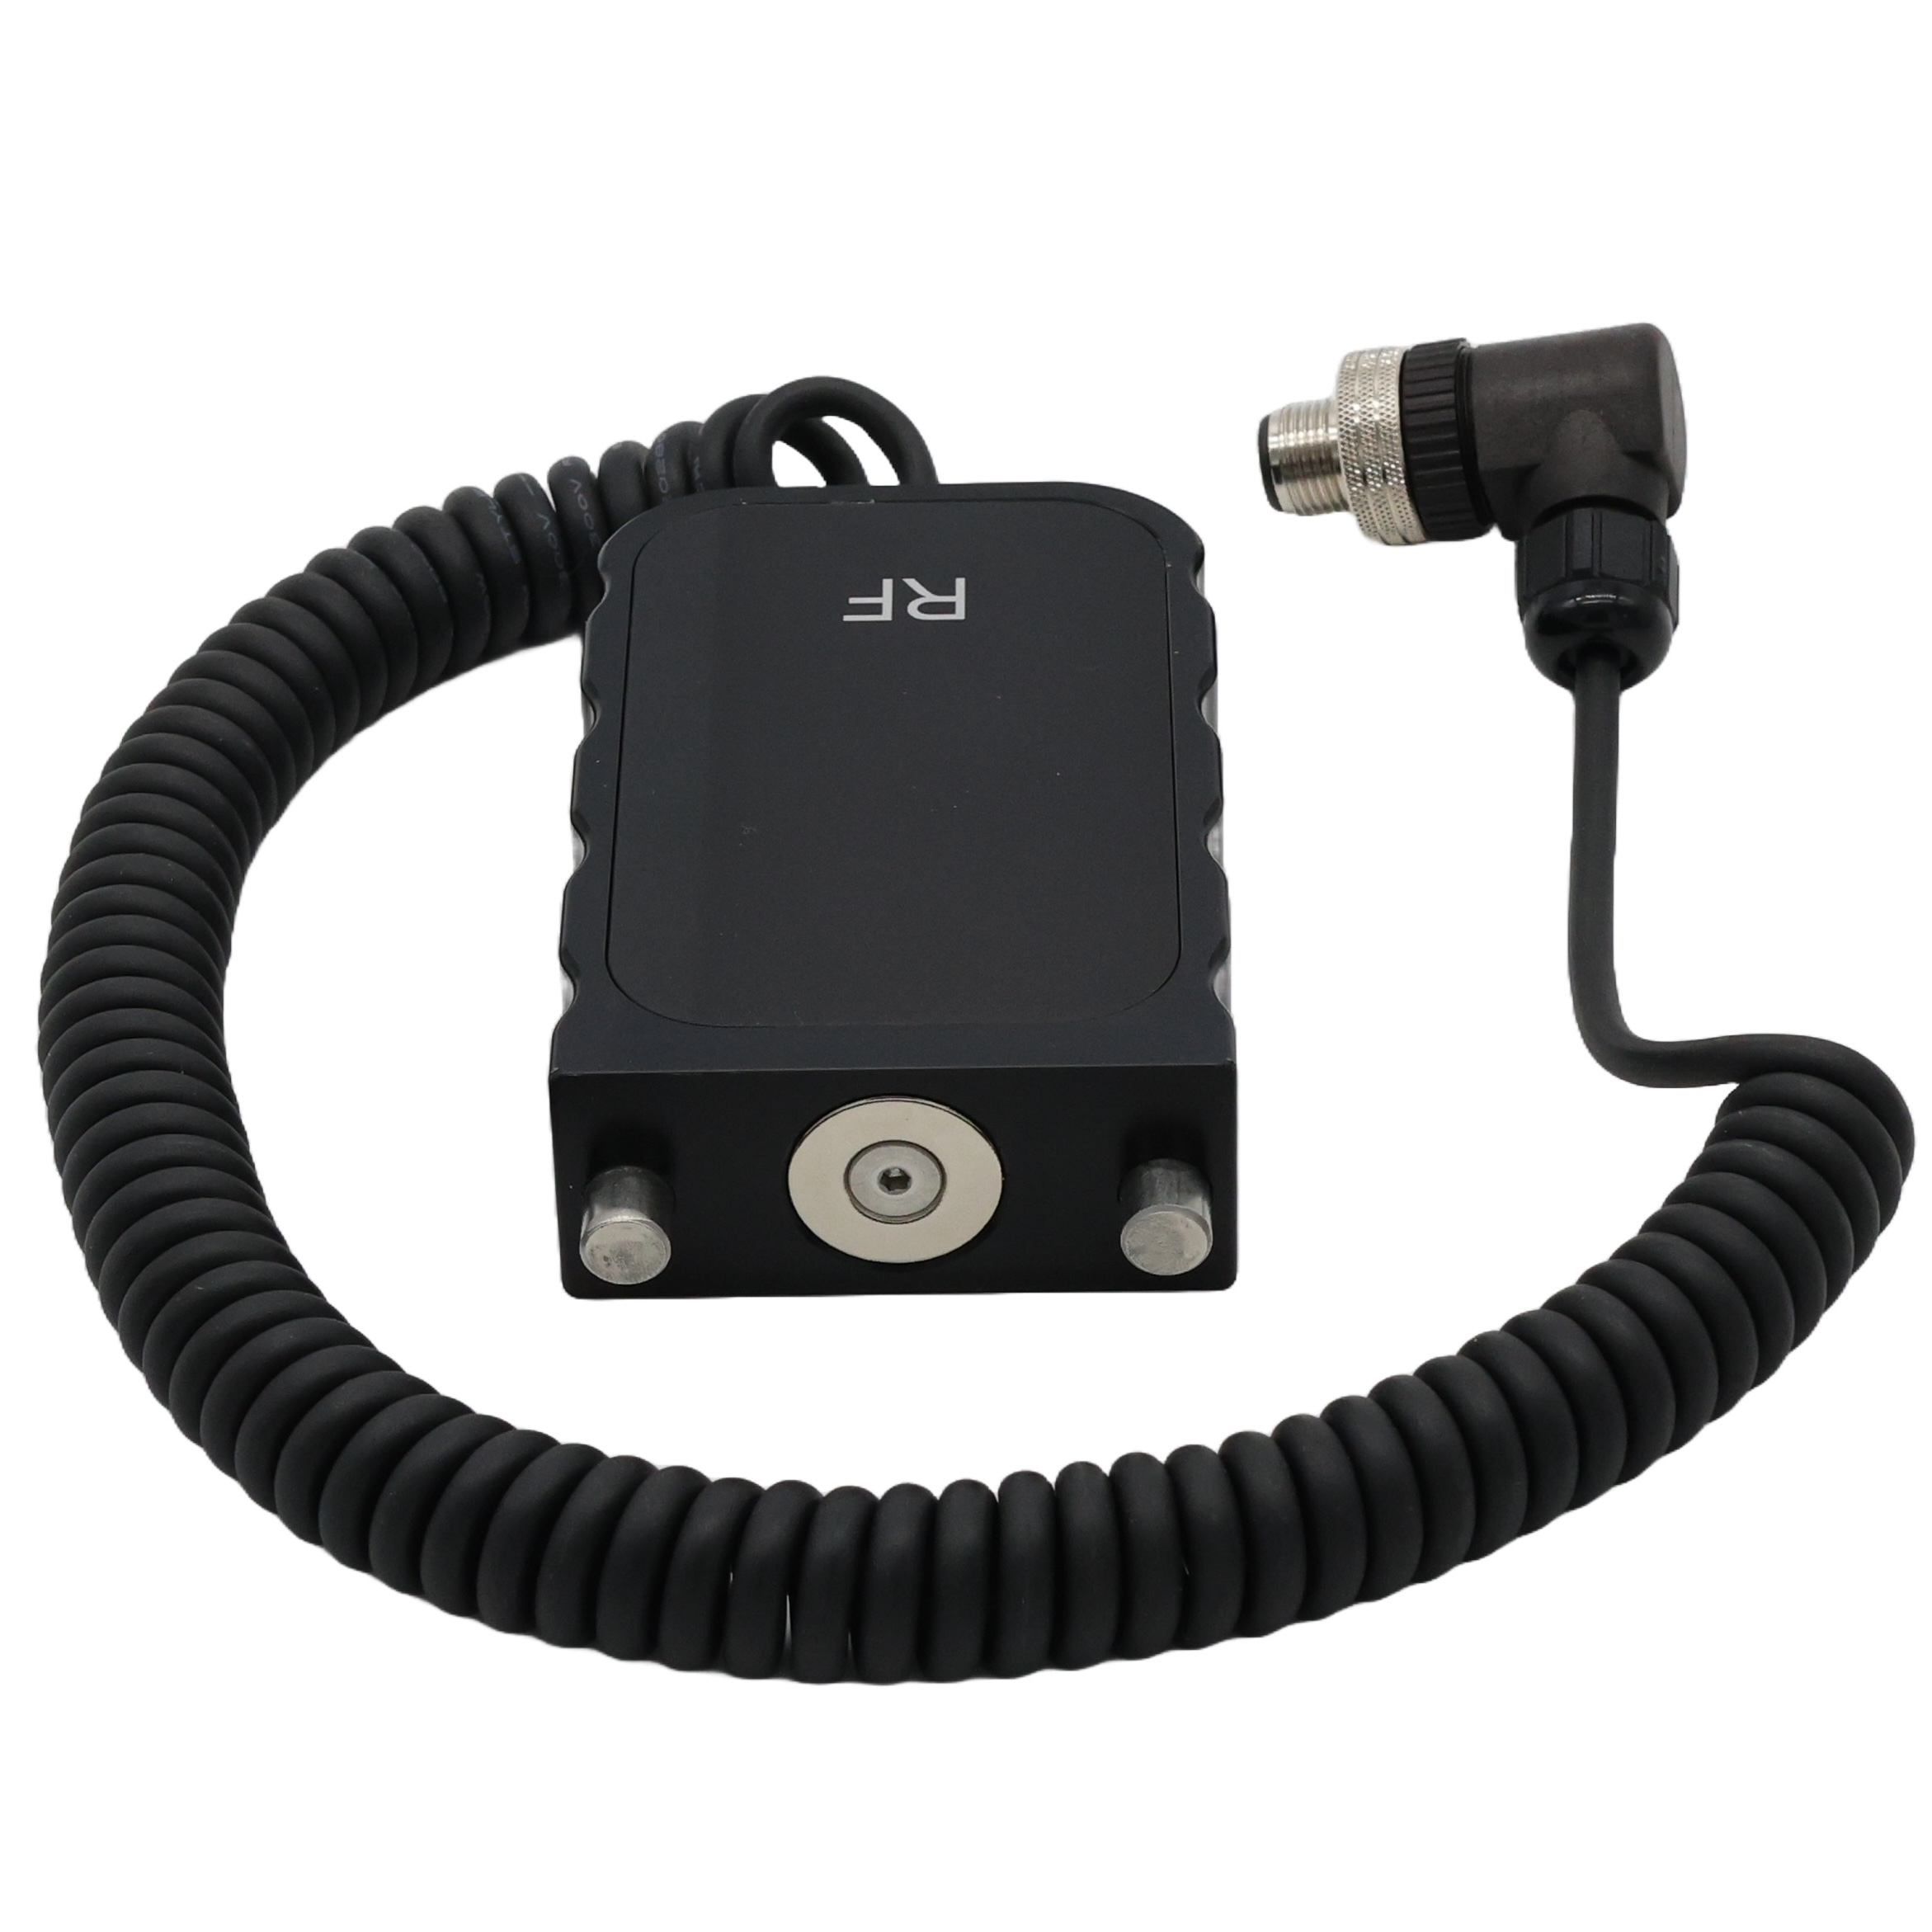
Camber Gauges: Measuring the Angle vs. Trusting the Number
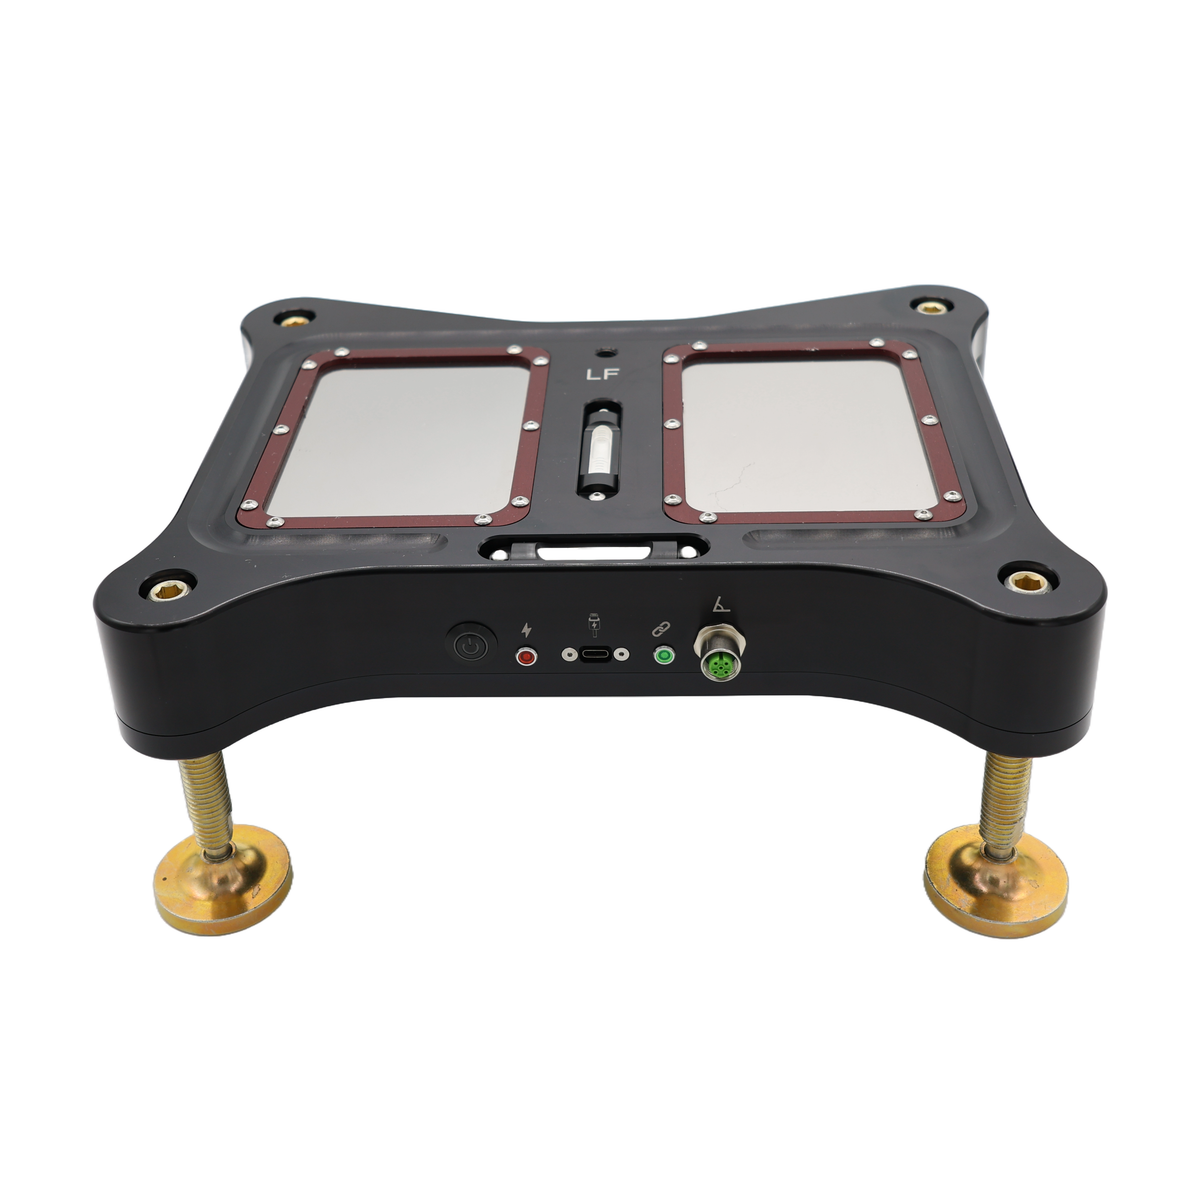
Scale Pads and Load Cells: Made Easy


