
Why the sequence matters as much as the numbers, and how to run a full setup in about an hour.
Why order matters
Every adjustment on a car's suspension moves something else. Change ride height and camber changes with it. Turn a spring perch to fix corner weights and ride height changes at that corner. Change caster and camber moves, and so does toe. Change camber and, on most cars, toe moves too.
If you set toe first and then adjust camber, your toe is wrong again. Do it in the wrong order and you go around in circles, re-measuring things you've already set, chasing numbers that keep moving. That's why setup has a reputation for eating whole afternoons.
The fix isn't working faster. It's working in an order where each step disturbs as little as possible of what you've already set. Follow it and you set each thing once, with small touch-ups along the way, then verify once at the end.
The order is:
- Prepare the car
- Ride height
- Corner weights
- Camber
- Caster
- Toe, rear first, then front
- Verify
Step 1: Prepare the car
Most bad setups go wrong before the first measurement. The car you measure has to be the car you race, or every number afterward describes a different car.
- Mechanical condition. Check the bushings, ball joints, wheel bearings, tie rod ends, anti-roll bar end links and shock mounts. Setup work on a worn chassis chases ghosts: the numbers move because the parts move.
- Fuel. Set it to a known, repeatable level and write it down. Race fuel load if you know it. A full tank versus a quarter tank can move corner weights noticeably, especially if the tank sits off-center.
- Driver. Put the driver in the seat, or ballast equal to their weight at the seat position. Corner weights without the driver aren't the corner weights you race on.
- Fluids and loose weight. Top up fluids. Remove anything that won't be in the car on track: tools, spares, the floor jack handle in the trunk.
- Steering wheel. Center the steering wheel and lock it in place before you measure anything.
- Anti-roll bars. Disconnect at least one end link on each bar, and leave them disconnected until the whole setup is finished. A connected bar can carry preload, which transfers weight across the axle and corrupts your corner weights.
- A level reference. Every measurement assumes the car sits on a level plane. On a floor that isn't level, the car's weight shifts toward the low side and camber readings tilt with it. Leveling Pads with a laser level, or IntelAlign Scale Bases, take the floor out of the equation.
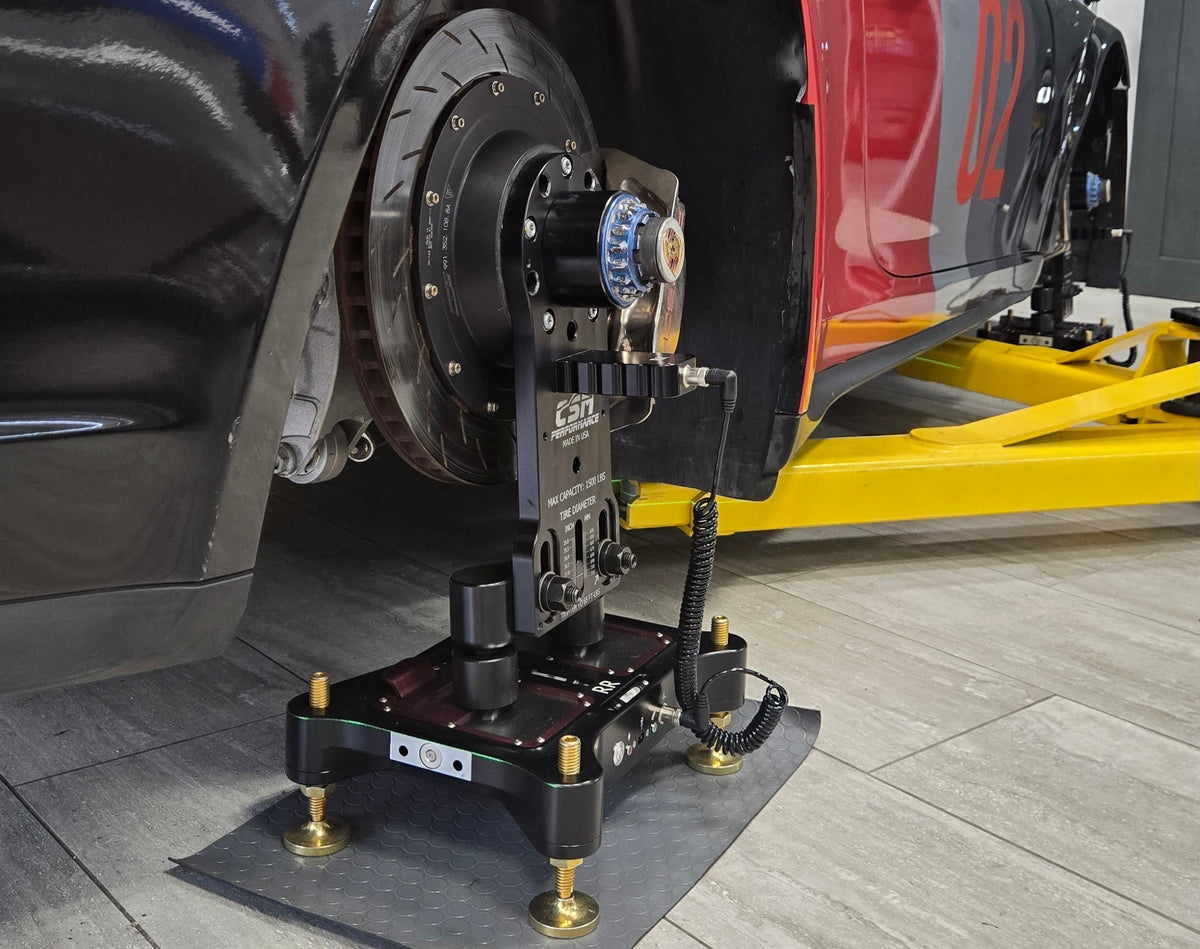
On Hub Stands: tire pressure, tire wear and sidewall flex don't enter into it, because the tires are off. What does matter is that the stands are set to the right height, so the car sits at its true ride height. The Hub Stand Height Setting calculator works that out from two ride height measurements, one on tires and one on the stands. You do it once per car and tire size.
Open the Hub Stand Height Setting calculator
Step 2: Ride height
Ride height comes first because it changes almost everything else.
As the suspension compresses or extends, the wheel moves through its arc. That changes camber (camber gain) and, depending on the steering and toe link geometry, changes toe as well (bump steer). Ride height also sets rake, the front-to-rear attitude of the car, which affects aero balance and weight distribution.
If you align the car and then change ride height by 10 mm, the alignment you just set no longer exists.
- Pick your reference points and never change them. Pinch welds or a chassis datum: it doesn't matter which, as long as it's the same every time. Write them down on your setup sheet.
- Set height with the spring perches. Work in small, equal steps side to side.
- Settle the suspension before you measure. On Ball Transfer Hub Stands there's no tire scrub to release, so you never need to roll the car. Stiff suspensions still need help: friction in stiff springs, dampers and bushings can hold a corner high or low, so jounce each corner firmly and let it come back to rest. Then measure all four corners.
Step 3: Corner weights
Corner weights come straight after ride height because both are set with the same adjuster: the spring perches. Every perch change for corner weight moves ride height at that corner, and every ride height change moves corner weight. Treat them as one job, and finish both before you touch the alignment. Caster, camber and toe adjustments lightly move corner weight, so once the perches are done, they typically won't move much afterward.
The number that matters most isn't total weight. It's cross weight: the combined weight on one diagonal (left front plus right rear) as a percentage of total. A car with uneven cross weight turns differently left and right, because one diagonal carries more of the load.
- Raise a corner's perch and you add weight to that corner and its diagonal partner, and take it off the other diagonal.
- Work in small steps. A small perch change moves more weight than you'd expect, especially on stiff springs.
- Target 50% cross weight, within 0.5%, unless you're deliberately running wedge for an oval.
- Keep the two front corners within 40 lb of each other. When the fronts carry matched weight, initial turn-in feels the same turning left as it does turning right.
- Recheck ride height after each round of perch changes, jouncing stiff suspensions to settle them first. When both ride height and cross weight are where you want them, this step is done.
Step 4: Camber
Camber is the tilt of the wheel viewed from the front. It's the alignment angle that matters most to cornering grip, so it gets set first, at the final ride height and corner weights. It goes before toe because camber adjustments move toe on most suspensions: pull the top of the wheel in and the wheel's front and back edges move relative to each other, so toe changes.
- Set camber at the final ride height. A camber number measured at the wrong ride height is a different camber.
- Measure at the hub, not the tire. Tire sidewalls bulge and rims carry runout, so a gauge on a tire gives you a reading off by however much the tire is distorted.
- Work both sides of an axle before moving to the other axle, and match left and right within 0.1° unless a differential is desired.
Read Camber Explained: Why It Matters
Step 5: Caster
Caster is the tilt of the steering axis viewed from the side. It sets steering weight, self-centering, and how much camber the front wheels gain as you steer.
- Caster is measured indirectly, from the change in camber as you steer the wheel through a set angle, typically 15° each way. A caster/camber gauge with a caster function, or IntelAlign on the Motorsports package, does the calculation. Unlock the steering wheel for the sweep, then re-center and lock it again before you move on to toe.
- Match left and right within 0.2° unless you're deliberately running cross-caster for an oval or a crowned road.
- On many cars, adjusting caster nudges camber. After setting caster, re-read camber and touch it up if it moved. On cars with shimmed lower control arms, where one shim stack moves both angles, plan camber and caster together.
- Many cars have no caster adjustment, or only a small one. If yours doesn't, measure it anyway and record it: it tells you whether something is bent.
Step 6: Toe, rear first
Toe is the last alignment angle because it's the one everything else disturbs. Set it after caster and camber are final.
Set the rear first. Rear toe defines the car's thrust line, the direction the rear axle actually pushes the car. If the rear axle is pushing slightly sideways, the car tracks down the road at an angle, and the driver steers to correct it. That shows up as a steering wheel that isn't straight on a straight.
Then set the front to the thrust line. With the rear set and the steering wheel centered and locked, set front toe equal side to side, relative to that thrust line. Equal toe on each side relative to the thrust line gives you a centered steering wheel on the straight, and the car steers the same left and right.
- Use whatever unit your setup sheet uses: millimetres, inches, minutes or degrees. Millimetres and inches depend on a reference diameter; minutes and degrees don't. Don't mix them within one sheet.
- Make small adjustments and watch the reading move. With a laser alignment system, you see the result as you turn the tie rod instead of re-measuring after each change.
Step 7: Verify
Because ride height and corner weights were finished before the alignment, this pass is short. Check ride height and cross weight one last time to confirm nothing moved, then re-read camber and toe.
Reconnect the anti-roll bars last. Only now, with everything else final, connect the end links. Adjust each link until it drops in with no force. Watch the corner weights as you connect: if they change, the bar is preloaded, so lengthen or shorten the link until connecting it changes nothing.
Then write it all down: the numbers, the reference points, fuel load and driver weight. Next time, you start from a known setup instead of starting over.
How long should this take?
Following this order on Hub Stands, a full setup takes about an hour. Professional race teams do it in about 30 minutes, because they've repeated it so often.
Most of the time people lose isn't in making adjustments. It's re-doing adjustments that a later step undid, and rolling the car back and forth to release tire scrub after every change. The order of operations removes the first. Measuring at the hub on a near-zero-friction surface removes the second.
The short version
- Prepare: sound chassis, fuel, driver, steering centered and locked, anti-roll bars disconnected, level reference.
- Ride height: first, because it moves everything.
- Corner weights: straight after, because the same perches set both.
- Camber: before toe, because it moves toe.
- Caster: then re-read camber, because caster can nudge it.
- Toe: rear first, for the thrust line, then front.
- Verify once, reconnect the anti-roll bars, then write it down.


Share:
Suspension Setup Fundamentals: A Guide to What Matters and Why
Corner Weights and Cross Weight: Explained