
What the four numbers on your scales mean, why weight moves diagonally, and how to set it without chasing your tail.
Four numbers, two that really matter
Put a car on scales and you get four numbers: the weight on each corner. On their own they don't tell you as much as the full picture.
The car's front-to-rear and left-to-right balance come from where the mass sits: engine, fuel, battery, driver, ballast. The spring perches can't really change either one (more on that below). Two numbers you can change, and they're the two that really matter:
- Cross weight: the diagonal (LF + RR) divided by total. This is the one you adjust with the perches.
- Front split: the difference between the LF and RF weights. This sets how evenly the car turns in left and right.
A perfectly cross-balanced car reads 50.0%. On a road course, anything from 49.5% to 50.5% is acceptable. Outside that range, the car turns differently left and right. For the front split, keep the LF and RF within about 40 lb of each other.
Why cross weight matters
When a car corners, weight transfers to the outside tires. Turning right loads the LF and LR. Turning left loads the RF and RR. If one diagonal already carries more static weight than the other, the car starts each corner with a different load on its outside front tire depending on which way it turns.
Tires don't gain grip in direct proportion to load. Push more load onto a tire that's already heavily loaded and it gives you less grip per pound than the lightly loaded tire gave up. So a car with cross weight off 50% has less total grip in one direction than the other. The driver feels it as a car that turns in sharply one way and pushes the other, or that's loose on exit in only one direction.
On an oval, that asymmetry is the point: teams deliberately run cross weight away from 50% (wedge) because the car only turns one way. On a road course, you want the car the same in both directions.
Why weight moves diagonally
A car on four springs behaves like a four-legged table. Three legs define a plane; the fourth either agrees with it or fights it. Raise one spring perch and that corner pushes down harder on its scale. Because the chassis is stiff, it pivots across the opposite diagonal, and the load spreads in a specific pattern:
- The corner you raised gains weight.
- Its diagonal partner gains weight too.
- The other two corners lose weight.
So raising the LF perch adds weight to the LF and RR, and takes it off the RF and LR. The whole car hasn't gained anything: total weight is unchanged. You've loaded one diagonal against the other through the springs. This is why one adjuster on one corner changes the reading on all four scales.
The amount that moves depends on the spring rates at all four corners. Stiffer springs move more weight for the same perch change. On a race car with stiff springs, a small fraction of a turn on one perch can move a surprising amount of weight. Work in small steps.
What perches can't change
This catches people out. Perches move weight diagonally, so they change cross weight and the front split, but they can't really change:
- Front percentage. Raising the LF adds to the LF but takes off the RF. The front axle total stays about the same.
- Left/right split percentage. For the same reason, the left side total stays about the same.
Front and left percentages are set by where the mass is in the car: engine, fuel cell, battery, driver, ballast. The only way to change them is to move weight or add it. If your car is left-heavy, no amount of perch adjustment will fix that. Moving the battery or adding ballast will.
That's also why the driver has to be in the seat, or ballast of the same weight at the seat position. The driver sits off-center, so they change the left percentage, and the cross weight you set without them isn't the cross weight you race with.
A worked example
A 3,000 lb car comes off the trailer:
| Left | Right | |
|---|---|---|
| Front | LF 760 lb | RF 720 lb |
| Rear | LR 740 lb | RR 780 lb |
- Front: 1,480 lb, 49.3%
- Left: 1,500 lb, 50.0%
- Cross (LF + RR): 1,540 lb, 51.3%
Cross is 1.3% high, so the LF + RR diagonal is carrying 40 lb too much. To bring it to 50%, move 20 lb off each corner of that diagonal and onto the other one. Lower the LF perch (or the RR) a little at a time until the scales read:
| Left | Right | |
|---|---|---|
| Front | LF 740 lb | RF 740 lb |
| Rear | LR 760 lb | RR 760 lb |
- Front: still 1,480 lb, 49.3%
- Left: still 1,500 lb, 50.0%
- Cross: 1,500 lb, 50.0%
Front and left percentages didn't move. Only cross weight did, and as a bonus the two fronts now match. That's most likely on a car with no driver weight, or with the driver in a center layout. With the driver off to one side, 50% cross rarely leaves the fronts matched, as the next section shows.
The 40 lb front rule
Cross weight at 50% doesn't guarantee the two front tires carry the same weight. On a car that's heavier on one side, 50% cross leaves the fronts uneven, and the front tires are what set initial turn-in.
Take a left-heavy car with the driver in:
| Corner | At 50.0% cross | At 49.7% cross |
|---|---|---|
| LF | 775 lb | 770 lb |
| RF | 725 lb | 730 lb |
| LR | 775 lb | 780 lb |
| RR | 725 lb | 720 lb |
At exactly 50% cross, the fronts are 50 lb apart. Move 5 lb per corner back across the diagonal and the fronts close to 40 lb apart, while cross weight sits at 49.7%: still inside the 0.5% window.
Our recommendation is to give up a little perfect cross weight to keep the LF and RF within about 40 lb of each other. Initial turn-in then feels the same turning left as it does turning right, which most drivers notice more than a few tenths of a percent of cross weight.
How to corner balance, step by step
Corner balancing sits right after ride height in the setup order, because both are set with the same spring perches. For the full sequence, see Setup Order of Operations.
Prepare the car
- Check the chassis is mechanically sound: worn bushings and loose end links make the numbers move.
- Fuel at a known, repeatable level. Driver in the seat, or ballast at the seat position.
- Disconnect the anti-roll bars, and leave them disconnected until the whole setup is done. We recommend disconnecting both end links on each bar, not just one, in case the bar binds in its bushings or housing.
- Put the car on a level reference. A floor that isn't level moves weight toward the low side, and you'll balance the car to the floor instead of to itself.
- Zero the scales with nothing on them.
Settle, then read
- On Ball Transfer Hub Stands there's no tire scrub to release, so you never need to roll the car. Stiff suspensions still need to be jounced: friction in stiff springs, dampers and bushings can hold a corner high or low.
- Read all four corners, and calculate front and cross percentages.
Adjust
- Decide which way cross weight needs to go. Too high means the LF + RR diagonal is too heavy.
- Pick the corner whose ride height is furthest from target in the direction that helps. If cross is high and the LF is also sitting high, lower the LF perch: one adjustment fixes both.
- Make a small change, settle, read again. Repeat.
- Recheck ride height after each round. Corner weights and ride height are one job; finish both together.
Finish
- Aim for 50% cross, within 0.5%, with the LF and RF within about 40 lb.
- Then go on to the alignment. Camber, caster and toe adjustments move corner weight only lightly, so the balance typically won't move much from here.
- Reconnect the anti-roll bars at the very end of the setup. Adjust each end link until it drops in with no force. If the scales change when a link goes in, the bar is preloaded: lengthen or shorten the link until connecting it changes nothing.
Common mistakes
- Balancing without the driver. The driver changes the left percentage and the cross weight. Balance the car you race.
- A floor that isn't level. The car leans on the low corners and the scales read the floor.
- Preloaded anti-roll bars. A bar with preload transfers weight across the axle and hides the real corner weights.
- Not settling stiff suspensions. A corner held up by friction reads light. Jounce it and read again.
- Chasing perfect numbers. 50.0% exactly is not the goal. A car within 0.5% with matched fronts might drive better than a car at 50.0% with the fronts 60 lb apart.
- Trusting the scales blindly. Cross weight is calculated from four readings, so a small error at each pad adds up. Pads that deflect under load can even change the weights they're measuring. Scale Pads and Load Cells covers what to look for.
Where Hub Stands help
On tires, every corner weight reading is influenced by the tire: its pressure, its sidewall stiffness and how far it's squashed. Two tires at slightly different pressures put the car at slightly different heights, which cross-loads it through the springs before you've touched a perch.
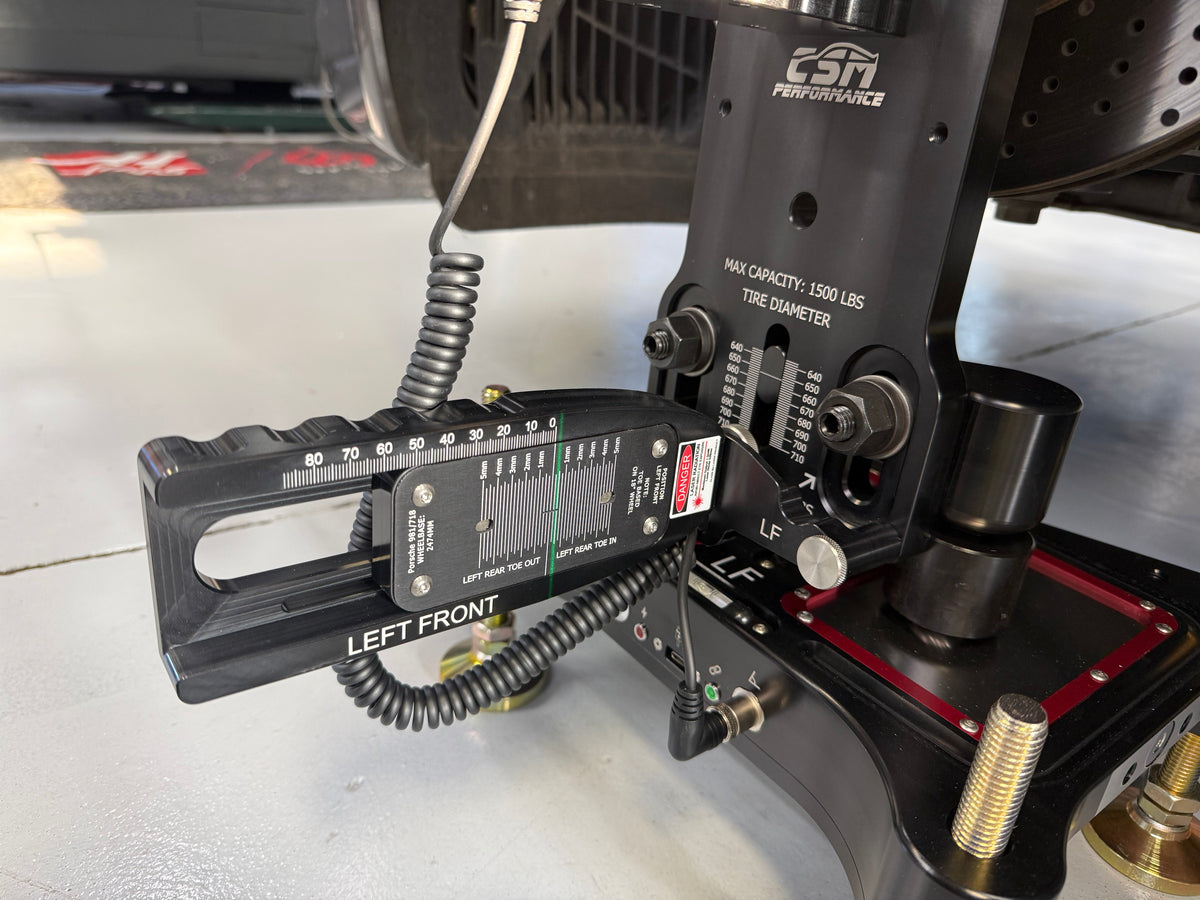
Hub Stands take the tire out of it. With IntelAlign zero-deflection scale bases, the stands sit on scales that don't sink under load, and the iPad shows all four corners, totals and cross weight live as you turn a perch. You see the weight move as you adjust, instead of adjusting, settling and recalculating.
The short version
- Cross weight = (LF + RR) / total. Target 50%, within 0.5%, on a road course.
- Perches move weight diagonally. They change cross weight and the front split, and barely touch front or left percentage.
- Front and left percentages change only by moving or adding mass.
- Keep the fronts within about 40 lb, even if it costs a few tenths of cross weight.
- Balance the car you race: driver in, fuel set, bars disconnected, level reference.


Share:
Setup Order of Operations: The Right Sequence for Chassis Setup
Toe Units: Why They Vary Between Cars